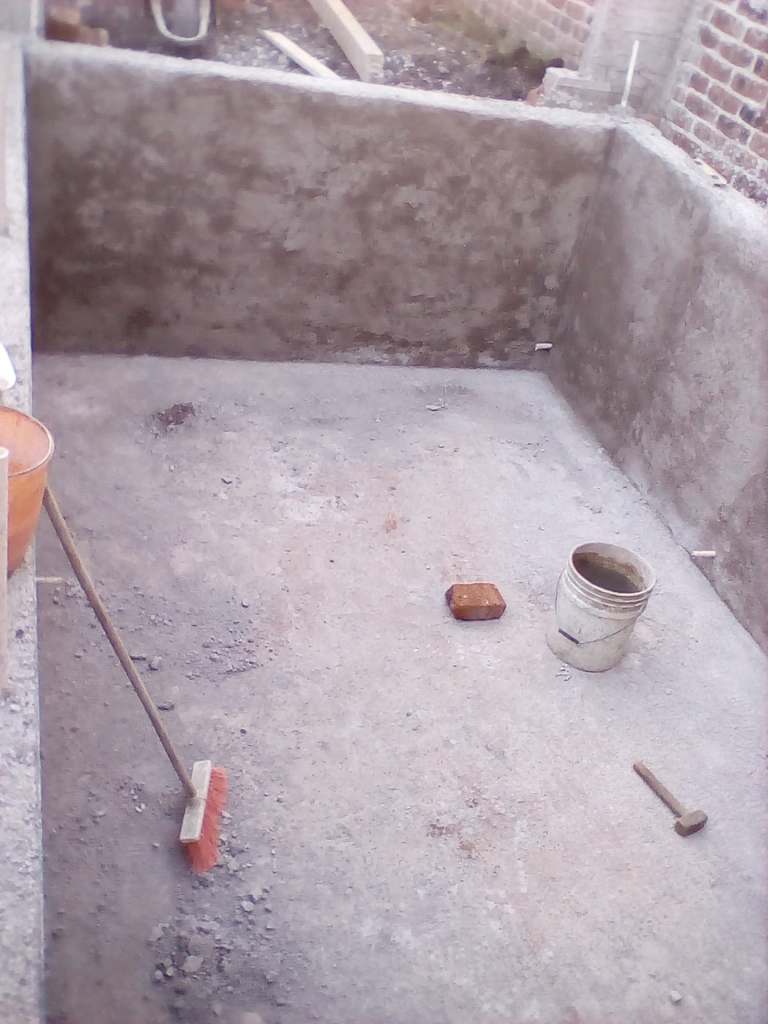
After going back and forth on how we wanted to develop our new lot, we decided that we needed a pool. Thus the digging began. I wanted it to go from wall to wall, but that’s not how it was dug. The total area is about 19 feet by 9 feet, and it’s about 3 1/2 feet deep.
The digging took some time, but on Ash Wednesday, we were finally ready to pour the floor. The goal was to get it finished for Semana Santa.
Since only my husband and son would be working on the project, not a whole crew of coladores (roof builders), we rented the cement mixer to save some time. Well, turns out not all that much time and effort was saved. The mixer was a bit wonky and stopped repeatedly. So a half-day job turned into a full-day effort. And it was HOT, making both workers mighty cranky.
The second workday was brief. My husband decided he had to get his truck paperwork and license plates straightened out that day, so in lieu of actual work, they moved the bricks from the brick pile to the pool floor so that bricklaying could commence bright and early the next day.
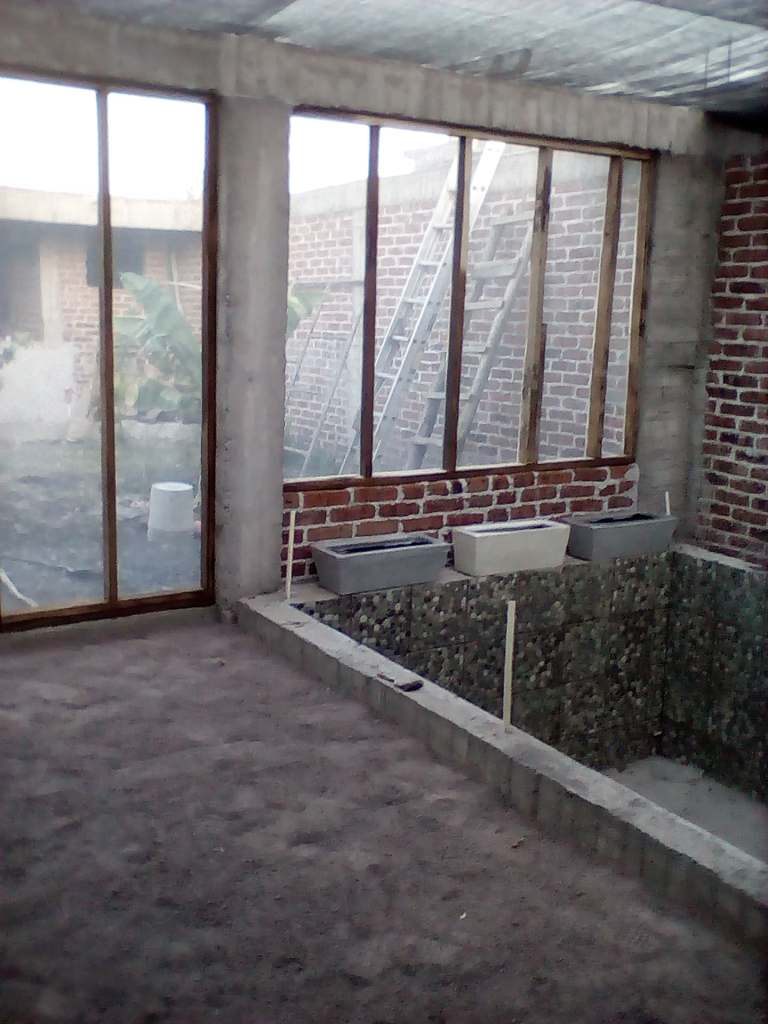
My husband is a super bricklayer when he gets started, so the walls to the pool were done in a matter of days. My son prepared the cement mix. My husband did the bricklaying, and tada!
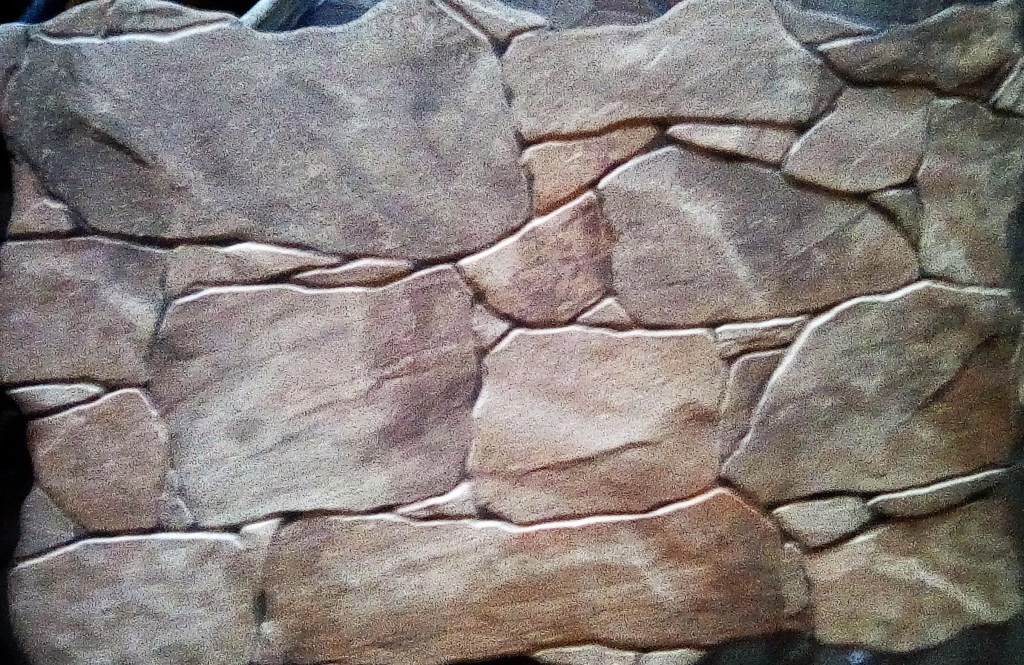
The enjarando (patching the bricks with cement) is my husband’s least favorite job, and of course, that took the better part of a week. Next, we went on a shopping excursion for some tiles. We only went to 4 different tile shops (which was surprisingly few) until we found something we liked. My son picked out this pebble tile, and we bought some. We had to drive to the warehouse some distance from the store and pick it up ourselves, and the boxes of tile were not exact matches to each other, but they were close enough that it was fine.
Once we got home my husband admitted that he hadn’t taken the floor into consideration when estimating how many tiles the pool would need. That was annoying. So we decided to not do anything to the floor. My husband argued for painting it blue–but since the tile was mostly gray, I didn’t see why we should, so we didn’t.
We also needed a way to get in and out of the pool. So my husband built stairs. I tried to show him on different videos that pool stairs tended to be rounded, but he didn’t pay any attention.
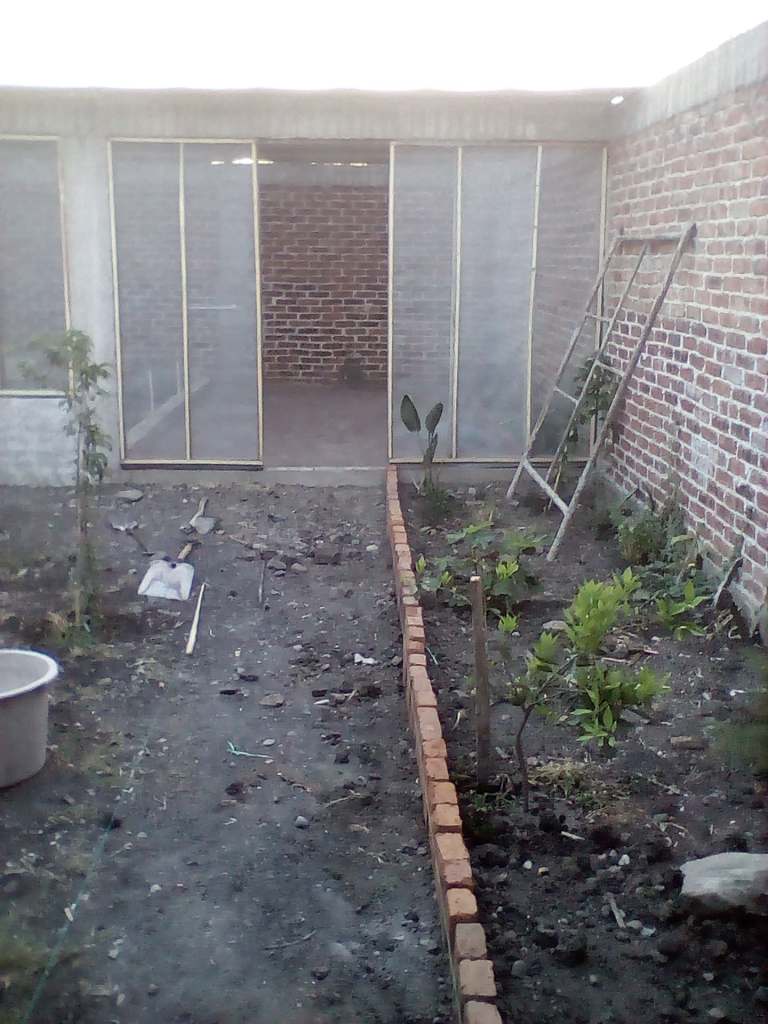
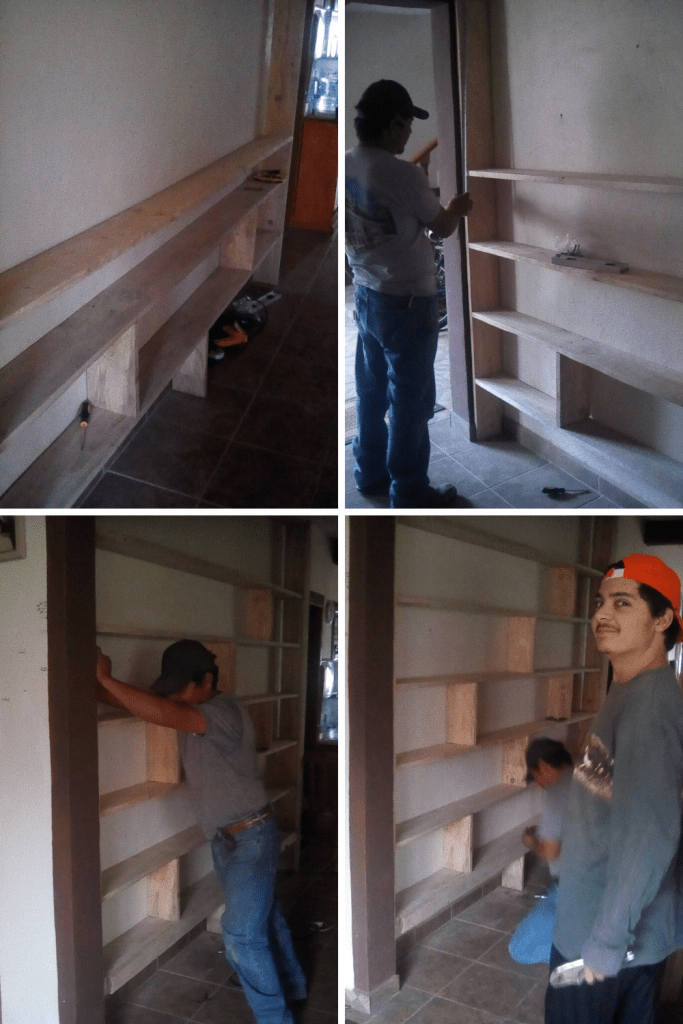
Making a pool wasn’t enough. We had to make sure that as many insects as possible stayed OUT of the water. So my husband made a screened-in wall that extended from one side of the lot to the other, with a screen door, complete with doggy entrance. Although I wanted to make it permanent and use metal, it was substantially less expensive to use wood. I’m not sure that we won’t have to replace it in the future even if the wood got a coat of oil.
Then we had to do something about the roof. I wanted to put up laminas transparentes (opaque corrugated plastic roofing), but again, it was out of the budget. I found a UV shade cloth on Amazon and ordered that instead. Again, I’m not sure that we won’t have to replace it in the future, but it’s perfect for now. I can spend an hour or two outside and not get burned to a red tomato hue.
Next, we needed a walkway area. My husband wanted to put down this type of tiny gravel, so we did, but it kicked up a lot of dust. So my son put down a brick patio. It’s not exactly flat, with little hills and valleys, but it will do for now.
Along the side, my husband planted some of my plants. I hope to be able to get some more macetas (flower pots) eventually and fill the area, but it’s good for now.
Then we needed to fill the pool. It actually took two full delivery trucks of 10,000 liters each, but there is no leakage, so that water will be good for quite some time. This was the Thursday before Semana Santa, so we beat our goal of “completing” it before the end of cuarema (lent).
My son and I were in the water splashing around before the water truck even pulled out of La Yacata. Whoop! I love the water. Growing up in the Susquehanna River valley, just a stone’s throw from my grandpa’s river lot, meant I spent a lot of my childhood in the water. We also had a little 12-foot round pool that my brother and I spent our summers in. So it is nice to finally have a way to cool down.
The pool isn’t finished, although we are using it every day. I wanted my husband to enjarar (patch with cement) the walls in the pool “room.” He wasn’t interested in doing that. I also wanted him to tile the edges of the pool. That didn’t appeal to him either. Now that’s he gotten in the pool, he said that the steps should have been rounded, and we’ll need to get a railing of some sort for those. Yep.
And the pump set up. My husband said he was going to rig it so it would be able to be plugged into the house, thus using our solar setup, but he hasn’t gotten around to that. So after a freak rainstorm the other day, it was no surprise to me that the water turned green. He seemed baffled, though. Shock treatment and running the pump with the generator helped some, but it really needs a more consistent water circulation plan.
So this project was a lot of give and take (mostly me giving advice and my husband not taking it, but whatever). We have something to enjoy in May, the hottest month of the year, and a place I can drown my sorrows daily now that I’m unemployed.